How to Fix a Leaky Faucet: A Step-by-Step Guide
A leaky faucet is one of the most common plumbing issues homeowners face. While it may seem like a minor problem, a dripping faucet can waste gallons of water, increase your utility bill, and become an annoying household nuisance.
Fortunately, fixing a leaky faucet is a relatively simple DIY project that requires minimal tools and effort. This guide will walk you through identifying the type of faucet, the tools you’ll need, and how to repair it step by step.
Why Fix a Leaky Faucet?
A dripping faucet may seem harmless, but it can lead to several problems:
- Water Waste – A faucet that drips once per second can waste over 3,000 gallons of water per year.
- Higher Water Bills – Even small leaks can increase your utility costs over time.
- Structural Damage – Continuous leaks can lead to water damage, mold growth, and corrosion in sinks and countertops.
- Environmental Impact – Conserving water helps protect the environment by reducing water consumption.
Fixing a leaky faucet is quick, cost-effective, and prevents bigger plumbing problems in the future.
Step 1: Identify the Type of Faucet
Before you start, you need to identify the type of faucet you have, as the repair method depends on its design. The four main types of faucets are:
1. Compression Faucet
- Has separate hot and cold handles.
- Uses rubber washers to control water flow.
- Leaks usually occur due to worn-out washers.
2. Ball Faucet
- Found in many kitchen sinks.
- Uses a single handle that moves over a rounded ball.
- Contains many small parts and can be tricky to repair.
3. Cartridge Faucet
- Has one or two handles.
- Operates with a smooth up-and-down motion.
- Uses a cartridge mechanism instead of washers.
4. Ceramic Disk Faucet
- Uses a single lever that moves up and down.
- Has a ceramic disk inside that controls water flow.
- Most durable type, but still susceptible to leaks.
Once you determine the type of faucet, you can gather the necessary tools and start your repair.
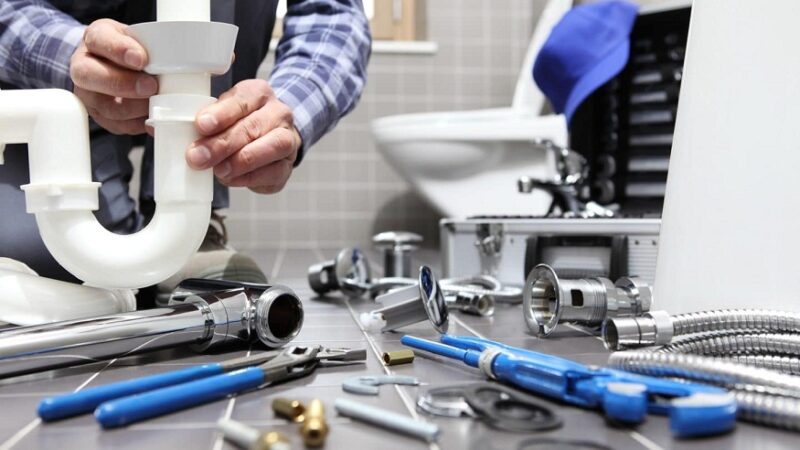
Step 2: Gather the Necessary Tools and Materials
To fix a leaky faucet, you will need:
✅ Adjustable wrench
✅ Phillips and flathead screwdriver
✅ Plumber’s grease
✅ Replacement washers or O-rings (for compression faucets)
✅ Replacement cartridge (for cartridge faucets)
✅ Replacement seals or ball assembly (for ball faucets)
✅ Vinegar and an old toothbrush (for cleaning)
✅ Plumber’s tape (optional)
Having the right tools on hand will make the repair process quicker and easier.
Step 3: Turn Off the Water Supply
Before starting any plumbing repair, turn off the water supply to prevent flooding.
- Look under the sink for shutoff valves.
- Turn the valves clockwise to shut off the water.
- Turn on the faucet to drain any remaining water in the pipes.
If your sink doesn’t have shutoff valves, you may need to turn off the main water supply for your entire house.
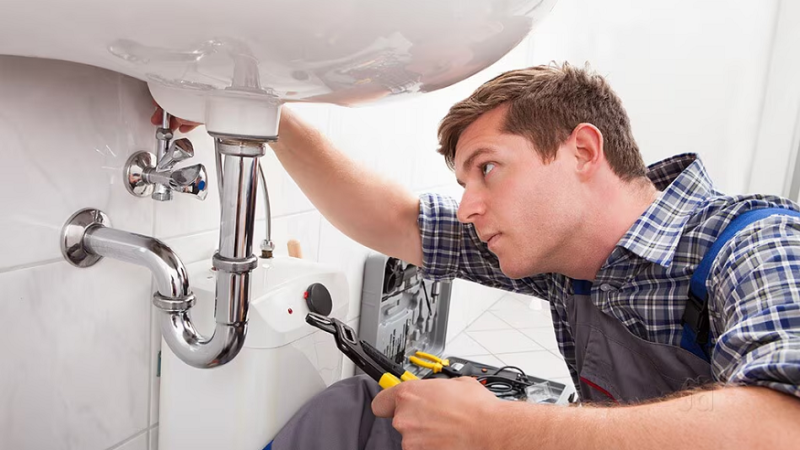
Step 4: Disassemble the Faucet
Now that the water is off, you can begin taking the faucet apart.
For Compression Faucets:
- Remove the handle using a screwdriver.
- Unscrew the packing nut with an adjustable wrench.
- Take out the stem to reveal the rubber washer.
- Remove and replace the washer if it appears worn or cracked.
- Check the O-ring and replace if necessary.
For Ball Faucets:
- Remove the handle screw and lift off the handle.
- Unscrew the cap and remove the cam assembly.
- Take out the ball and springs underneath.
- Replace the springs and rubber seals with new ones.
- Reassemble the faucet and test for leaks.
For Cartridge Faucets:
- Remove the decorative cap and unscrew the handle.
- Pull out the retaining clip holding the cartridge in place.
- Gently remove the cartridge and replace it with a new one.
- Reassemble the faucet and turn the water back on.
For Ceramic Disk Faucets:
- Remove the handle and unscrew the escutcheon cap.
- Lift out the ceramic disk cylinder and check for wear.
- Replace the seals if damaged and clean any mineral buildup.
- Reinstall the disk and reassemble the faucet.
Step 5: Clean and Inspect Faucet Parts
While the faucet is disassembled, take the opportunity to clean the components.
- Use vinegar and a toothbrush to remove mineral buildup from internal parts.
- Check for cracks or worn-out parts and replace them if necessary.
- Apply plumber’s grease to O-rings and washers to ensure a good seal.
Regular cleaning and maintenance extend the life of your faucet and prevent leaks.
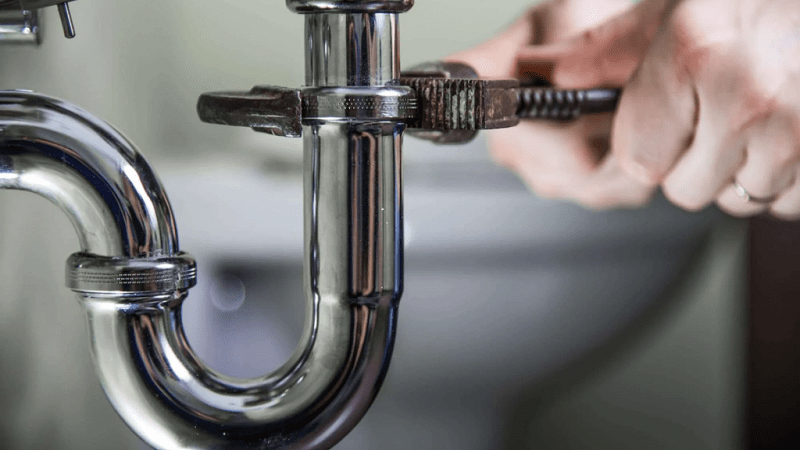
Step 6: Reassemble and Test the Faucet
After replacing the necessary parts, reassemble the faucet in reverse order.
- Tighten all screws and fittings securely but avoid overtightening.
- Turn the water supply back on slowly.
- Check for leaks by running the water and inspecting connections.
- If the faucet still leaks, recheck that washers and seals are properly seated.
Step 7: Prevent Future Leaks
To keep your faucet in good condition and prevent future leaks:
✅ Avoid excessive force when turning faucet handles.
✅ Clean aerators regularly to remove sediment buildup.
✅ Check for small leaks periodically before they worsen.
✅ Replace washers and O-rings as part of routine maintenance.
With proper care, your faucet can remain leak-free for years to come.
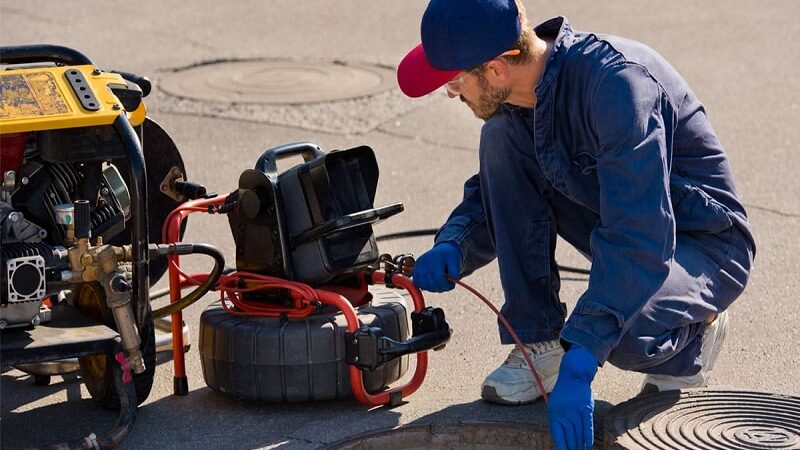
When to Call a Plumber
If you follow these steps and your faucet continues to leak, it may be time to call a professional plumber.
The leak is coming from under the sink.
The pipes are damaged or corroded.
You cannot remove or replace the faucet parts.
You suspect a larger plumbing issue in your home.
A licensed plumber has the tools and expertise to fix complex leaks and prevent water damage.
Conclusion: Fix Your Leaky Faucet Today!
A leaky faucet may seem like a small problem, but fixing it quickly saves water, lowers bills, and prevents damage. Whether you have a compression, ball, cartridge, or ceramic disk faucet, repairing it is a simple DIY project that anyone can do with the right tools.
By following this step-by-step guide, you can confidently fix a dripping faucet, stop water waste, and ensure your plumbing remains in top condition.
If you’re dealing with a stubborn leak or need professional help, don’t hesitate to call a plumber for expert assistance.
Stop that drip today and enjoy a leak-free home!